Originally, we were told of an old
air cooled RD250 that a guy had in his backyard that hadnt moved. Interested
in getting our bike licenses,
we decided to take it for free
and see if we would get it going. The bike ran fine after some playing
around, but we couldnt get the alternator
to charge after a lot of fiddling,
so we eventually gave up. A friend of ours got his bike license soon after
and decided he would take
the bike and trade it in
on something else. Here began the story of the RD250LC.
He rode the
bike around on his Learners Permit and also his Provisional license until
he was able to buy a bigger bike (Yamaha R6). To my
suprise, he asked me if I
wanted the bike. When he said "wanted", I assumed he meant wanted to buy
it, so I asked the price.
The price was
a whopping $120, but only because he had bought new sprokets and chain
which he hadnt even put on the bike yet....
The bike sat in my garage for another
12 months until I got around to getting my learners permit. Finally, I
got the thing registered and started
to ride on my first ever bike.
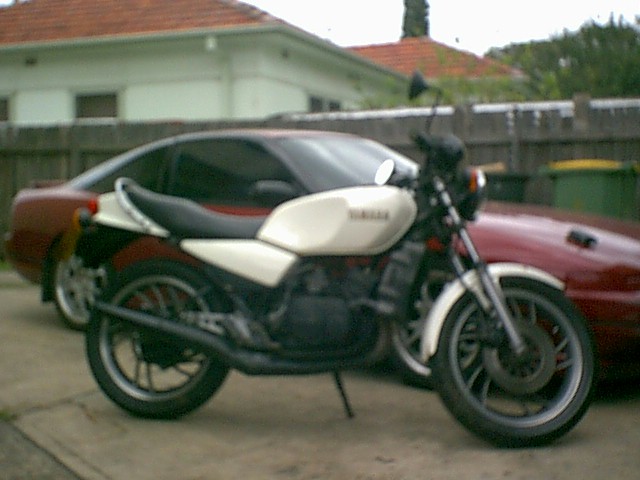
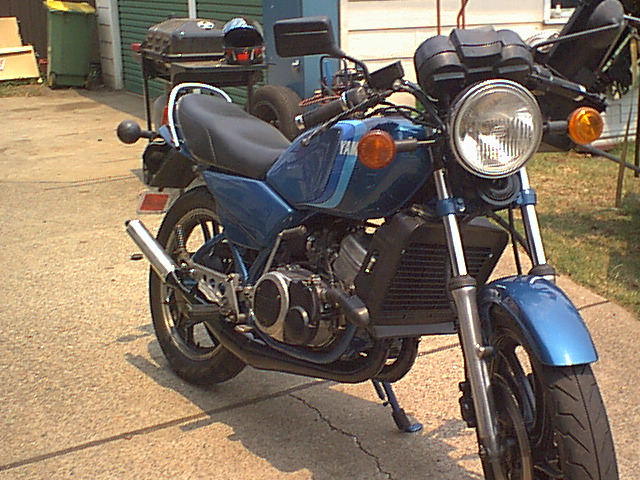
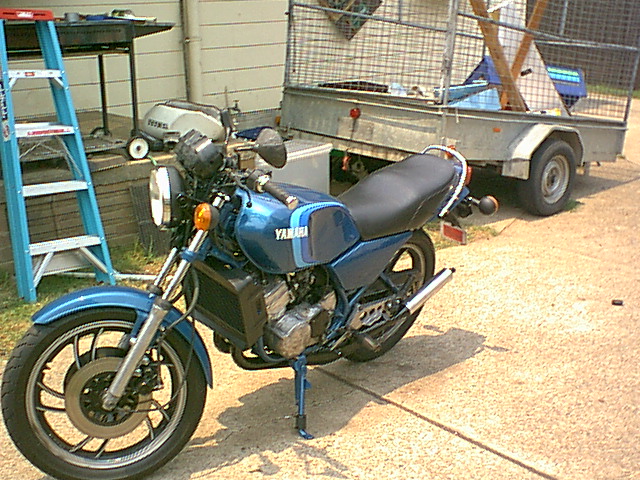
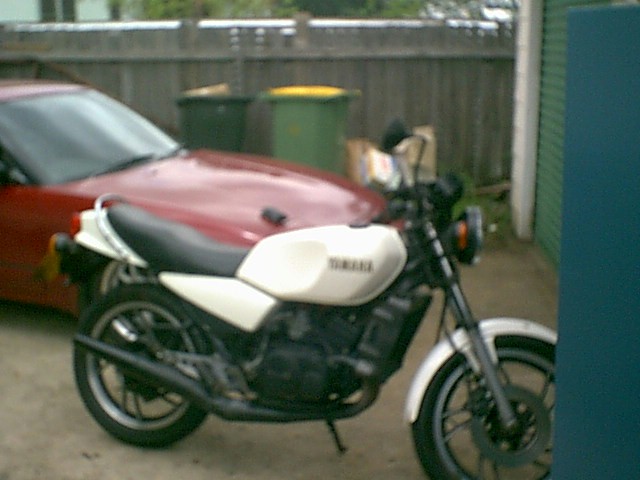
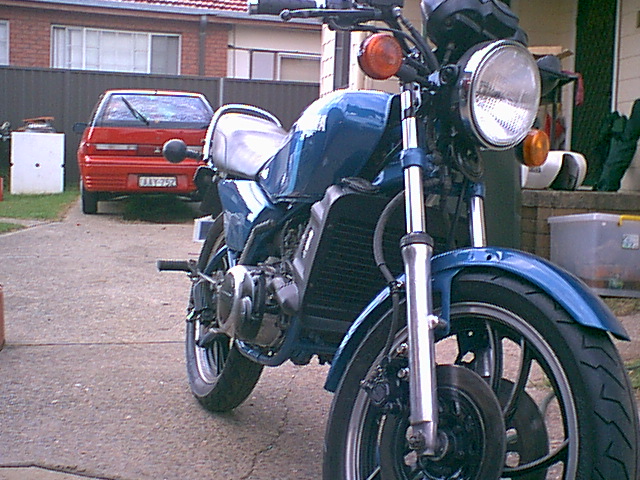
The bike was in reasonable condition... the pictures arent
too clear, but the bike ran very well. A great realiable bike.
Unfortunately, after riding the bike for around 12 months,
the fuel tank decided to spring a leak. This was probably due
to the fact that the bike sat around for about 2 years
without any fuel in it... doh.
I looked around for a tank for quite a while without success.
I found out via my local yamaha dealer that they were doing
one more batch of RD350LC tanks before they discontinued
them. The 350 tanks were the same as mine, but a different
colour. Hmmm... I had to paint the tank. Guess
what happened from there?
While looking for the tank, I decided to utilise the WWW
to see if I could source one. I stumbled apon a great RD enthusiast
page which had alot of helpful people. http://www.yamaha-rd.co.uk
is the page. Unfortunately, it had a picture of a hot
looking RD on the front which got me thinking.
"If I have to paint the tank, I might as well keep pulling
the bike apart and do the whole thing!"
What was I thinking? :-)
So there, the project started.... and went.... and went...
and went for a long time. Its not easy finding RD parts in Australia.
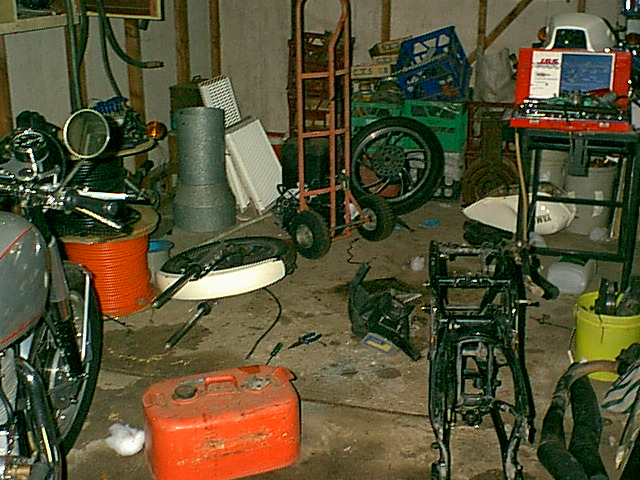
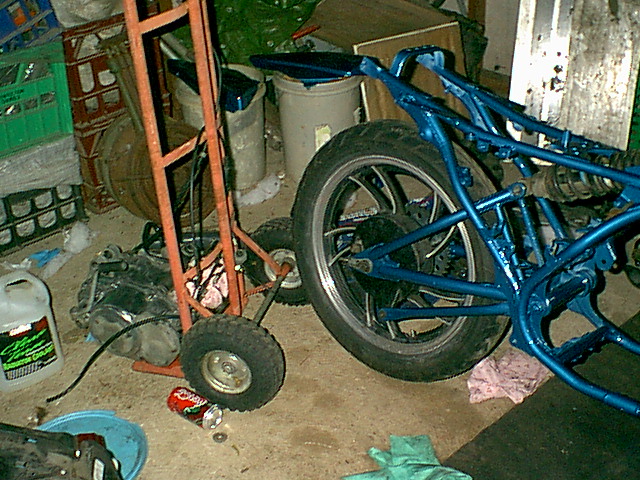
So anyway... theres the engine on the trolley up the back.
Theres my dads BSA Gold Star to the left. Bits everywhere...
An absolute mess!
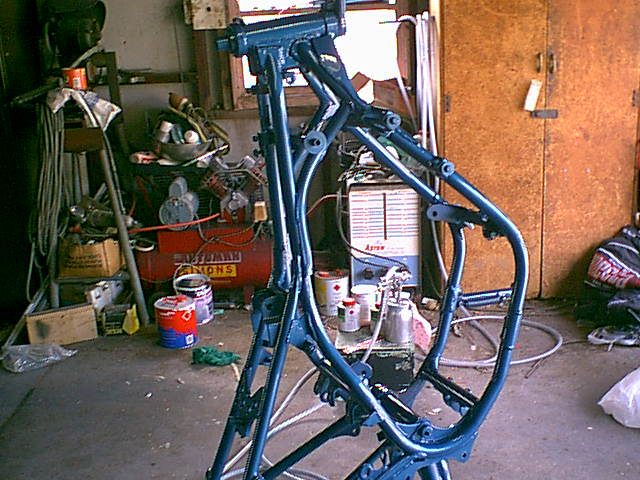
First of all, I spent a day cleaning the frame... it
was absolutely filthy with years of 2 stroke oil and dirt... urgh.
Next it was sanded back and cleaned again with prepsol
ready for paint.
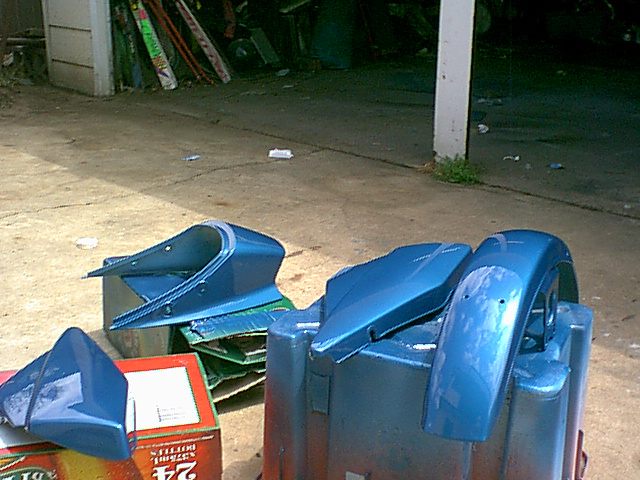
The other panels were painted the same day as the frame.
I'm very happy with how the paint came up, but there
are a few parts now that I look at and think I
could have spent some more time on them with preparation.
The colour is Madza Aquatic Blue, which is a "pearl"
colour... AU$100 per litre. I used 2 litres of blue and 2 litres of
clear all up.
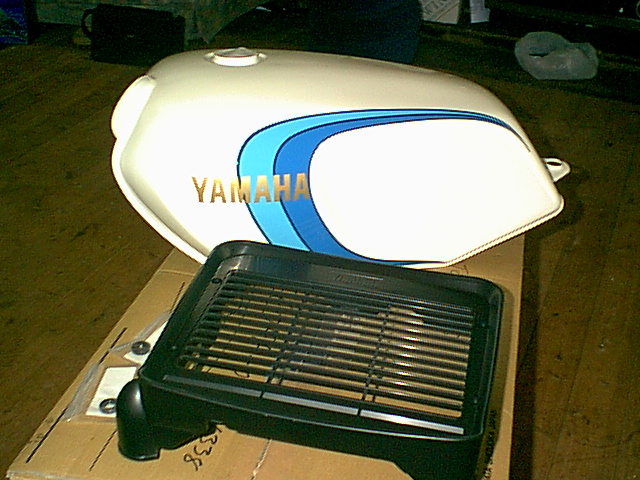
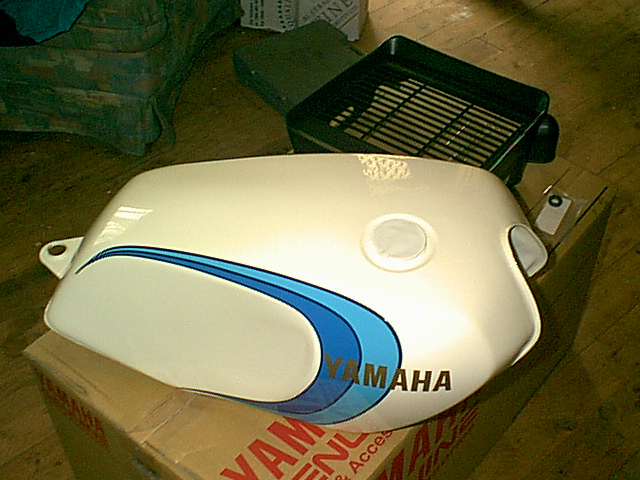
After being on back order for months, the fuel tank finally
came in. I also decided to buy a new radiator shroud as well,
because mine was split. Heres the tank as I got
it from Yamaha.
The next thing to get a look at, was the wheels... I put
alot of the bike back together and found that the wheels were
looking a bit dirty beside all the new paint...
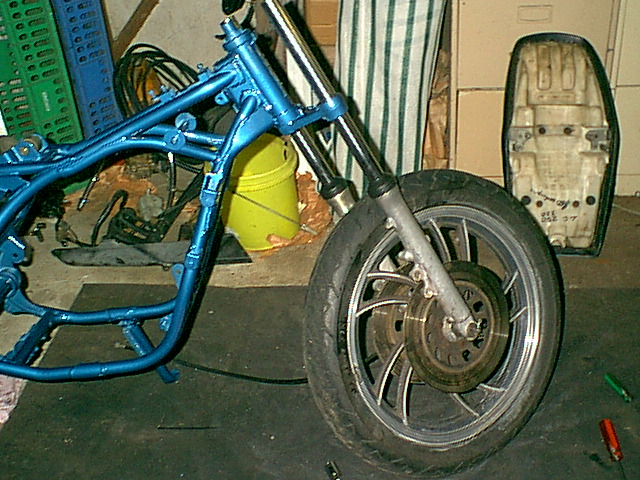
The forks also needed a bit of cleaning up... they looked pretty ordinary...
So... back apart it came again. Wheels and forks were
going to get some attention, as well as cleaning up the inside
of the discs.
Much better! This brought me to about midway. At this
stage, I had been bugged by quite a few people to do the
popular 250 to 350 converstion.... I caved in.
And in the end, I'm actually glad I did. It turns out that the pistons
were
rather loose in the bores. One of the pistons skirts
had actually broken off and done some damage to the barrel.
This helped make me feel a bit better about the cost
of the conversion anyway ;-)
The next thing to get some attention was going to be the
engine... because the rest of the bike was going to be blue
and black, I decided that the bike needed some
colour breakup. I decided to remove the paint from the engine and leave
it natural aluminium except for the plastic covers,
which remained black. Unfortunately, I didnt get a shot of
the engine on its own, but I have a pic of the
engine without a topend just after I got the new tank...

If you scroll back up and look at the black engine in
the first pics, I think you will see that it made a nice change to
the blue on the rest of the bike.
Today was a big day.. about 3 months after the project
started. I finally managed to locate some 350 barrels in
reasonable condition. I bought some wiseco pistons,
1mm oversize (30 thou), and had the barrels re-bored and
honed. After waiting a month or two, my second tank sticker/decal
arrived, so I was able to put it on and paint the clear
on the tank. This meant that I could almost finish
the bike!!!!
The pistons I was given were RZ350 pistons (YPVS), which
I was told had an extra part on the skirt which shouldnt
be there on an RD350LC.
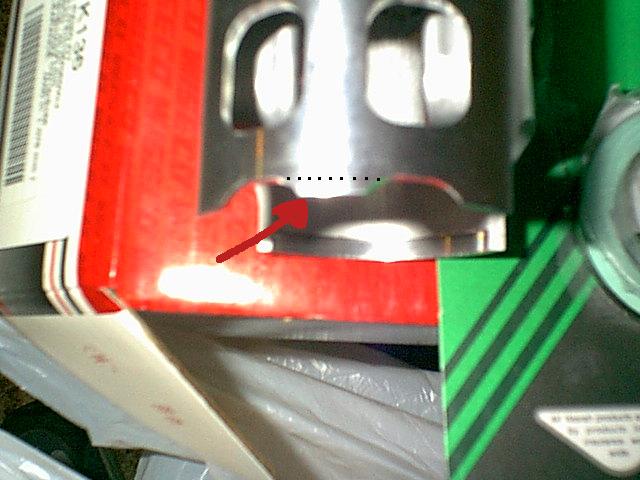
Where the arrow is, I filed that tab back to the dotted line to make it in line with the rest of the skirt...
Being so close to xmas, theres no way I can get an exhaust
made up, so I'll have to wait until early next year, which is
pretty disappointing, but I'm still happy with
what I got done today.
I built the topend of the engine, which meant I was able
to get the engine all back together...
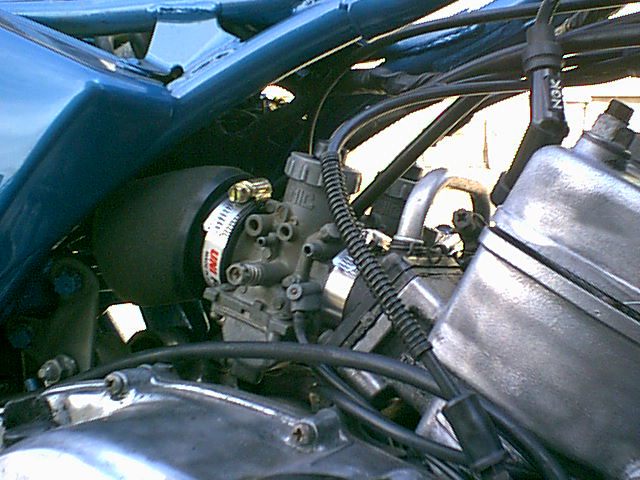
I've removed the airbox, and decided to go with unipods
instead. I have been told I may need to extend the intake
track by a couple of inches if I do this, so I
may have to extend those pods away from the carbs by a couple of
inches, but I will see how the bike goes first...
I'm not after a race bike. I also jetted up from the standard 220 mainjets
to 290 mainjets, and I have a set of 280's and
310's to try as well in case the mixture isnt right.
Next, I painted the clear on the tank. My mate came over
with his bike not running properly, so while I waited for
the tank to dry, we worked on his bike. He had
a couple of problems. The float height was wrong on one of his
carbs, causing it to flood. Secondly, one of his
mainjets had fallen out ;-)
He wondered why he had almost used a full tank of fuel
on a short ride ;-)
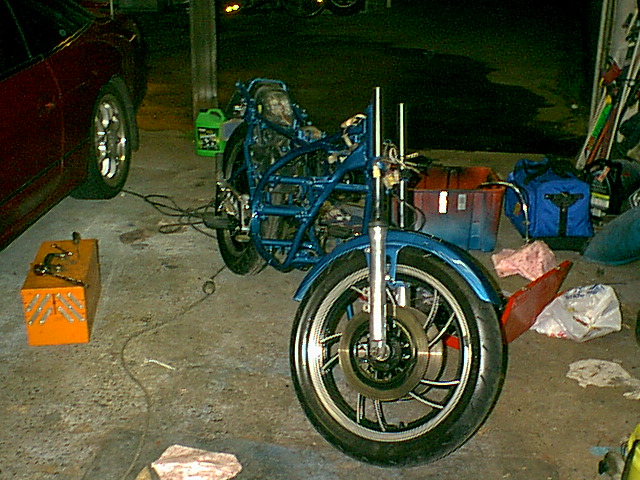
Anyway... late in the afternoon, the tank was dry enough
to carefully put it on the bike for the shots.
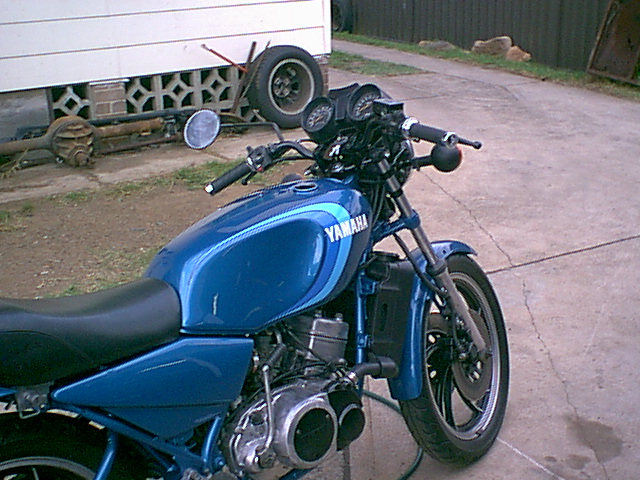
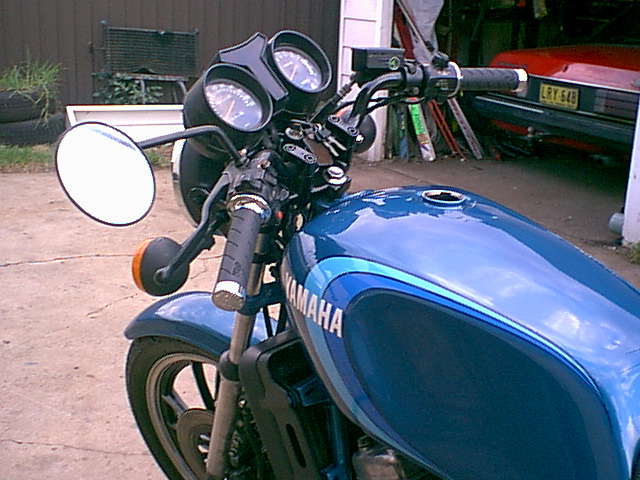
Bit of a change from the old machine!
Now... as soon as I can, I'll be putting the bike on a
trailer and taking it to get the exhaust made.
I will be getting expansion chambers put on, and hopefully
some nice mufflers.
Once I get it back, I'll take the final pictures for
this page :-))))
Well I got it back... so I guess its just about finished. Couple of minor things left to do, but here it is!